Tuesday, August 31, 2010
Check out this gorgeous hair! Love it!
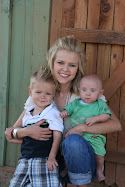
I loved working with this hair. This is Danny, my beautiful model who has amazing long and gorgeous hair. I had been eyeing her hair for several weeks now at church, and finally asked her if I could use her as a model. I was so excited when she said yes!

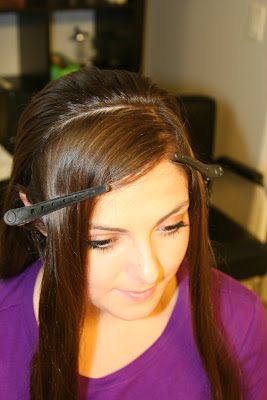 I first started off with a radial part, from the top of one ear to the next. Clip of each section.
 From behind the ear, I back combed the crown of her head for height. Then I used Bumble and Bumble styling spray to smooth the hair back.
 I placed the top section into a hair tie for support. *Note: Fine hair can skip this step.
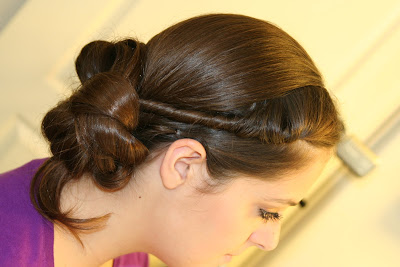
 Then I pull one of the side sections to the back lower crown. Then I do a half a twist and then secure with bobby pins.
 I repeat on the opposite side and secure with bobby pins.
 Back comb the front sections and smooth out with comb and styling spray. Then loosely pull back off the face and place bobby pins to hold. I love this b/c it is simple, but elegant.

Take a radial part from in front of the ear to the lower recession of your hairline. Clip it off.

Back comb the crown (using a back combing comb will give you best results. Can be found at any beauty supply store). Then use a smoothing brush, Bumble Styling spray and Aquage Shine spray to guide the hair to the side of the head, just behind the ear.
 Place the hair in a pony tail. Then section the hair into sections. Twist each piece. Then begin wrapping the two pieces around each other. Once reach the end, tie off with a rubber hair tie.

The front, I just twisted her bang forward and then bring it back to the pony tail. I used the remaining hair to wrap around the actual pony tail holder. So cute and so simple! Try it.

I couldn't stop there. I took the pony twist and created a beautiful wrapped bun. Perfect for a special event or night out.


 I first started off with a radial part, from the top of one ear to the next. Clip of each section.
 From behind the ear, I back combed the crown of her head for height. Then I used Bumble and Bumble styling spray to smooth the hair back.
 I placed the top section into a hair tie for support. *Note: Fine hair can skip this step.
 Then I pull one of the side sections to the back lower crown. Then I do a half a twist and then secure with bobby pins.
 I repeat on the opposite side and secure with bobby pins.
 Back comb the front sections and smooth out with comb and styling spray. Then loosely pull back off the face and place bobby pins to hold. I love this b/c it is simple, but elegant.
Take a radial part from in front of the ear to the lower recession of your hairline. Clip it off.

Back comb the crown (using a back combing comb will give you best results. Can be found at any beauty supply store). Then use a smoothing brush, Bumble Styling spray and Aquage Shine spray to guide the hair to the side of the head, just behind the ear.
 Place the hair in a pony tail. Then section the hair into sections. Twist each piece. Then begin wrapping the two pieces around each other. Once reach the end, tie off with a rubber hair tie.
The front, I just twisted her bang forward and then bring it back to the pony tail. I used the remaining hair to wrap around the actual pony tail holder. So cute and so simple! Try it.

I couldn't stop there. I took the pony twist and created a beautiful wrapped bun. Perfect for a special event or night out.


Sunday, August 29, 2010
Time for the Fall!
 This is my beautiful model Stephanie... She is so adorable and has a flair for creativity and style. She is one of those clients that every Hairstylist dies for. She sits down and my chair and says, " whatever Karla, I trust you". Que clouds parting and chorus singing..."Ahhhhh". I love her! She is so fun to work with. So we decided to bring in the fall tones by changing her color to a chestnut brown. There is more than beneath the eye, she has panels of red/violet hues under the top layer to add some dimension and character.
The haircut... Since this is my cup of tea... I enjoyed doing so much. Stephanie has a beautiful heart shape face... I am a little bias to this face shape;) I wanted to open up around her face to show off her stunning eyes. I did this by adding peek-a-boo bangs and then carved out the left side along her face to to show off the cheekbones. The back is layered short underneath, allowing the top layers to fall over giving the hair the illusion of movement and texture. This is a great shape for straight and wavy textures. Thin to thick densities would work if the right amount of texturizing is done appropriately.


Sunday, August 22, 2010
The Crew Cut
The Crew Cut
This past weekend I was visiting my sister in LA. We laughed for an hour over this website. called awkward family photo's. Thought I would share:)
This past weekend I was visiting my sister in LA. We laughed for an hour over this website. called awkward family photo's. Thought I would share:)
Welcome to the 60's
The 1960's was a time of change in many ways. One in particular was in fashion and glamour. Hair was being pulled up and created into beautiful art forms. Woman were not afraid to show off their neckline, shoulders and cheekbones. It was all about beauty! To do so the hair was pulled up. I am not talking about the infamous Beehive...UGH! But smoothness, wrapping, volume and elegance of the hair.
One of my most favorite actresses of that era was Audrey Hepburn. She not only was talented and beautiful, but inside was a pretty spectacular person by doing a lot for her community.
So she is my inspiration for the week, just taking her Breakfast at Tiffany's look to a everyday casual arrangement of hair.

 Step 1: I started by parting the hair about a 1 1/2inch thick from my front hair line; from ear to ear. Clip the hair forward.

I love this because instead of the plain pony tail, it is now a retro 60's updo. Enjoy! Email me if you have any questions!
One of my most favorite actresses of that era was Audrey Hepburn. She not only was talented and beautiful, but inside was a pretty spectacular person by doing a lot for her community.
So she is my inspiration for the week, just taking her Breakfast at Tiffany's look to a everyday casual arrangement of hair.

 Step 1: I started by parting the hair about a 1 1/2inch thick from my front hair line; from ear to ear. Clip the hair forward.
Step 2: Turn head upside down and grab 3 pieces at the neck hairline.
Step 3: Start french braiding. It will be a upside down french braid.
Step 4: Continue the upside down french braid until reaching the lower crown of the head.
Step 5: Wrap into a small rubber band.
Step 6: Pull head up and start back-combing (aka teasing) the front sections of the hair. Then gently smooth it out.
Step7: Take 1-2 inch piece sections and start wrapping them back towards the pony tail braid. Pull the sides back toward the ear.
Step 8: Place bobby-pins to secure the hair. Use hairspray to hold in place.


I love this because instead of the plain pony tail, it is now a retro 60's updo. Enjoy! Email me if you have any questions!
Tuesday, August 10, 2010
Where to find Aquage
So many of you wonderful readers have asked me were to find the amazing Aquage Finishing Spray. So this is what I found:
Amazon.com, buy.com or Salon's also carry this line. It is well worth it! Good luck!
Amazon.com, buy.com or Salon's also carry this line. It is well worth it! Good luck!
Friday, August 6, 2010
Glam Night Workshop
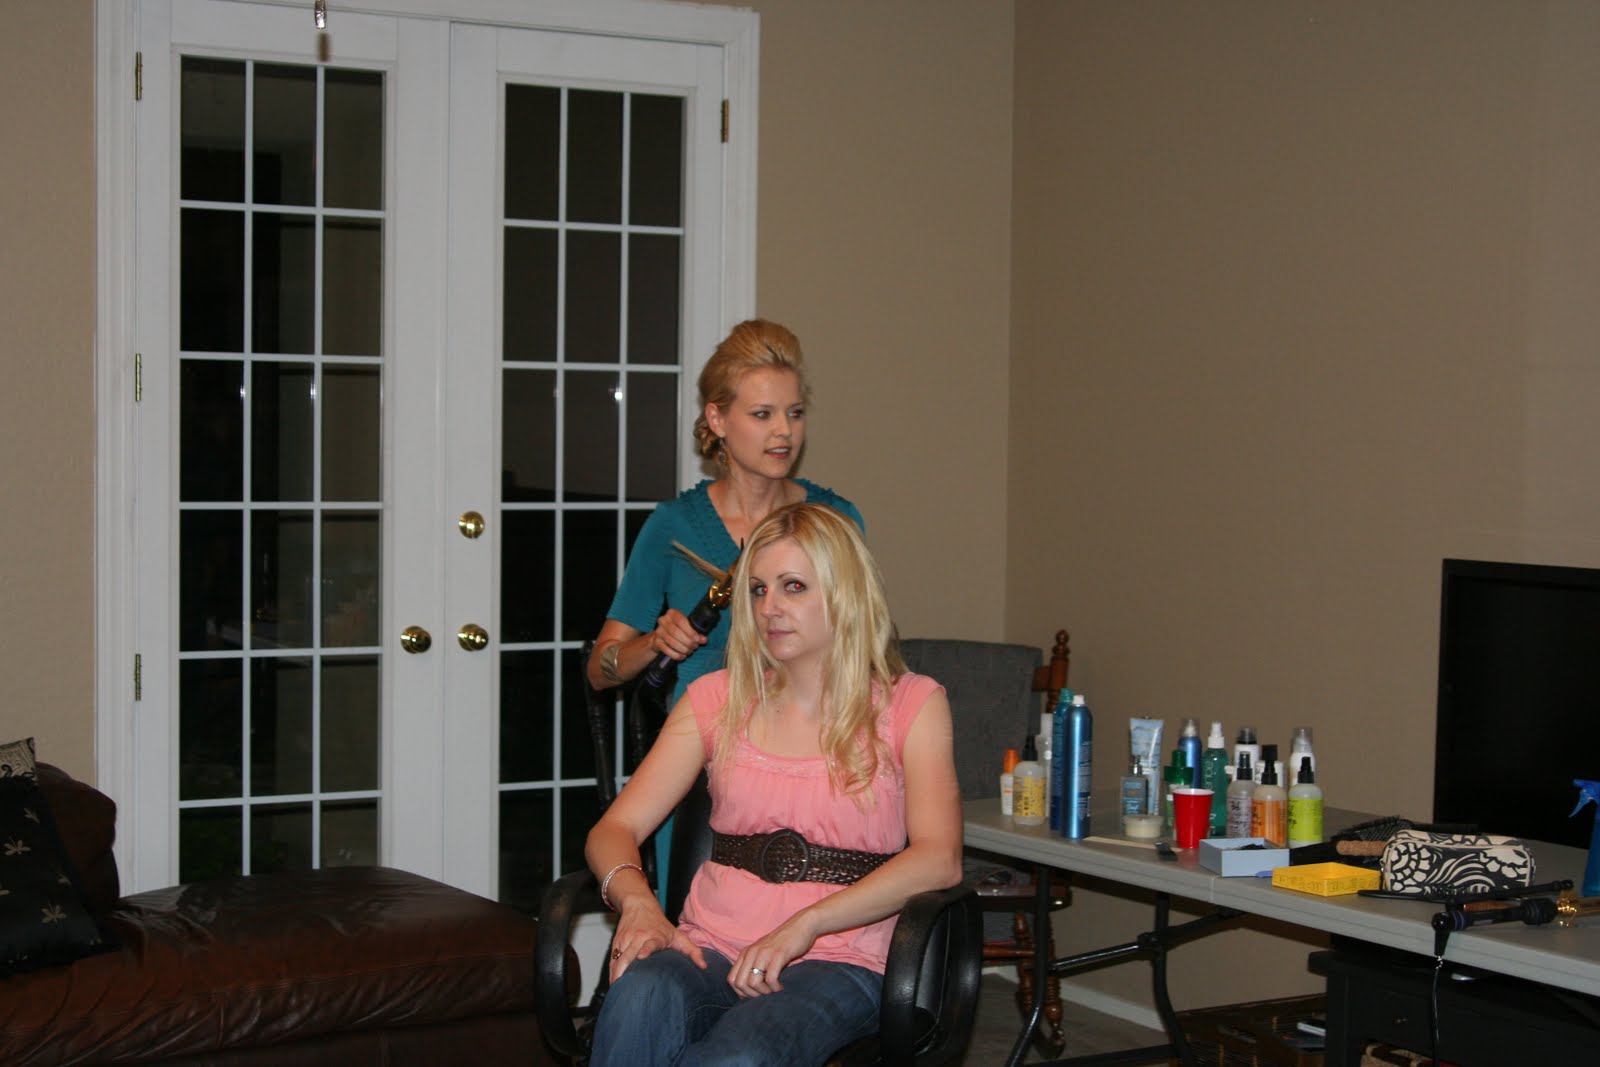
To kick off the A Simple Peach launch, I put together a Girls Night out Workshop. I was so much fun! There was a great attendance and I had awesome volunteers to work on. Thanks to Wendy for opening up her gorgeous home for the event and also Kathy (kathyscoffieldphotography.com) for helping me out with your great photography expertise. Here is a little preview of what kind of hair style were created that night. If interested in putting on a Girls Night out Workshop, send me an email at asimplepeach@live.com .
The 3 little Knots


 I started out back combing the top of her head, then worked my way to the middle crown. Once the top layer was smooth, I then pulled back the top section from about the low recession line. The left side of the hair was tucked under while the right side was twisted to create a knot like effect. I then placed bobby pins to hold the hair in place. I repeated with the section just below, leaving out some hair at the bottom. Once the 2 knots were in place I split the hair that was left over into to sections. I then tied them once them twisted the hair to sit right under her right ear. I placed bobby pins to hold it in place. So cute and so easy. Just get your hands in there and try it!


 This is Stacey, she had long, finer straight hair. I quickly ran an 1 1/4 inch curling iron through her hair to give it some movement and texture. I then back combed the top crown of her head for some lift. I pulled the hair to the back so that it sat just on top of the Nape of her neck. I tied the hair tight. Then place bobby pins to secure it in place. After which I split the hair into 3 remaining sections. One at a time I wrapped the section of hair into a circle then pulled the loosed end through. I secured it on the base knot with bobby pins and repeated the process 2 more times. This would be a great look with jeans, a cute summer dress or for just lounging around.
Going Fishing
 I decided to repeat this hair style again. The model, Carrie, has gorgeous long, thick, wavy hair. It is a great option for everyday use, fancying up her everyday pony tail.


The 3 little Knots


 I started out back combing the top of her head, then worked my way to the middle crown. Once the top layer was smooth, I then pulled back the top section from about the low recession line. The left side of the hair was tucked under while the right side was twisted to create a knot like effect. I then placed bobby pins to hold the hair in place. I repeated with the section just below, leaving out some hair at the bottom. Once the 2 knots were in place I split the hair that was left over into to sections. I then tied them once them twisted the hair to sit right under her right ear. I placed bobby pins to hold it in place. So cute and so easy. Just get your hands in there and try it!
For a more casual approach I created the....
Simple 3 little Knots


 This is Stacey, she had long, finer straight hair. I quickly ran an 1 1/4 inch curling iron through her hair to give it some movement and texture. I then back combed the top crown of her head for some lift. I pulled the hair to the back so that it sat just on top of the Nape of her neck. I tied the hair tight. Then place bobby pins to secure it in place. After which I split the hair into 3 remaining sections. One at a time I wrapped the section of hair into a circle then pulled the loosed end through. I secured it on the base knot with bobby pins and repeated the process 2 more times. This would be a great look with jeans, a cute summer dress or for just lounging around.
Going Fishing
 I decided to repeat this hair style again. The model, Carrie, has gorgeous long, thick, wavy hair. It is a great option for everyday use, fancying up her everyday pony tail.
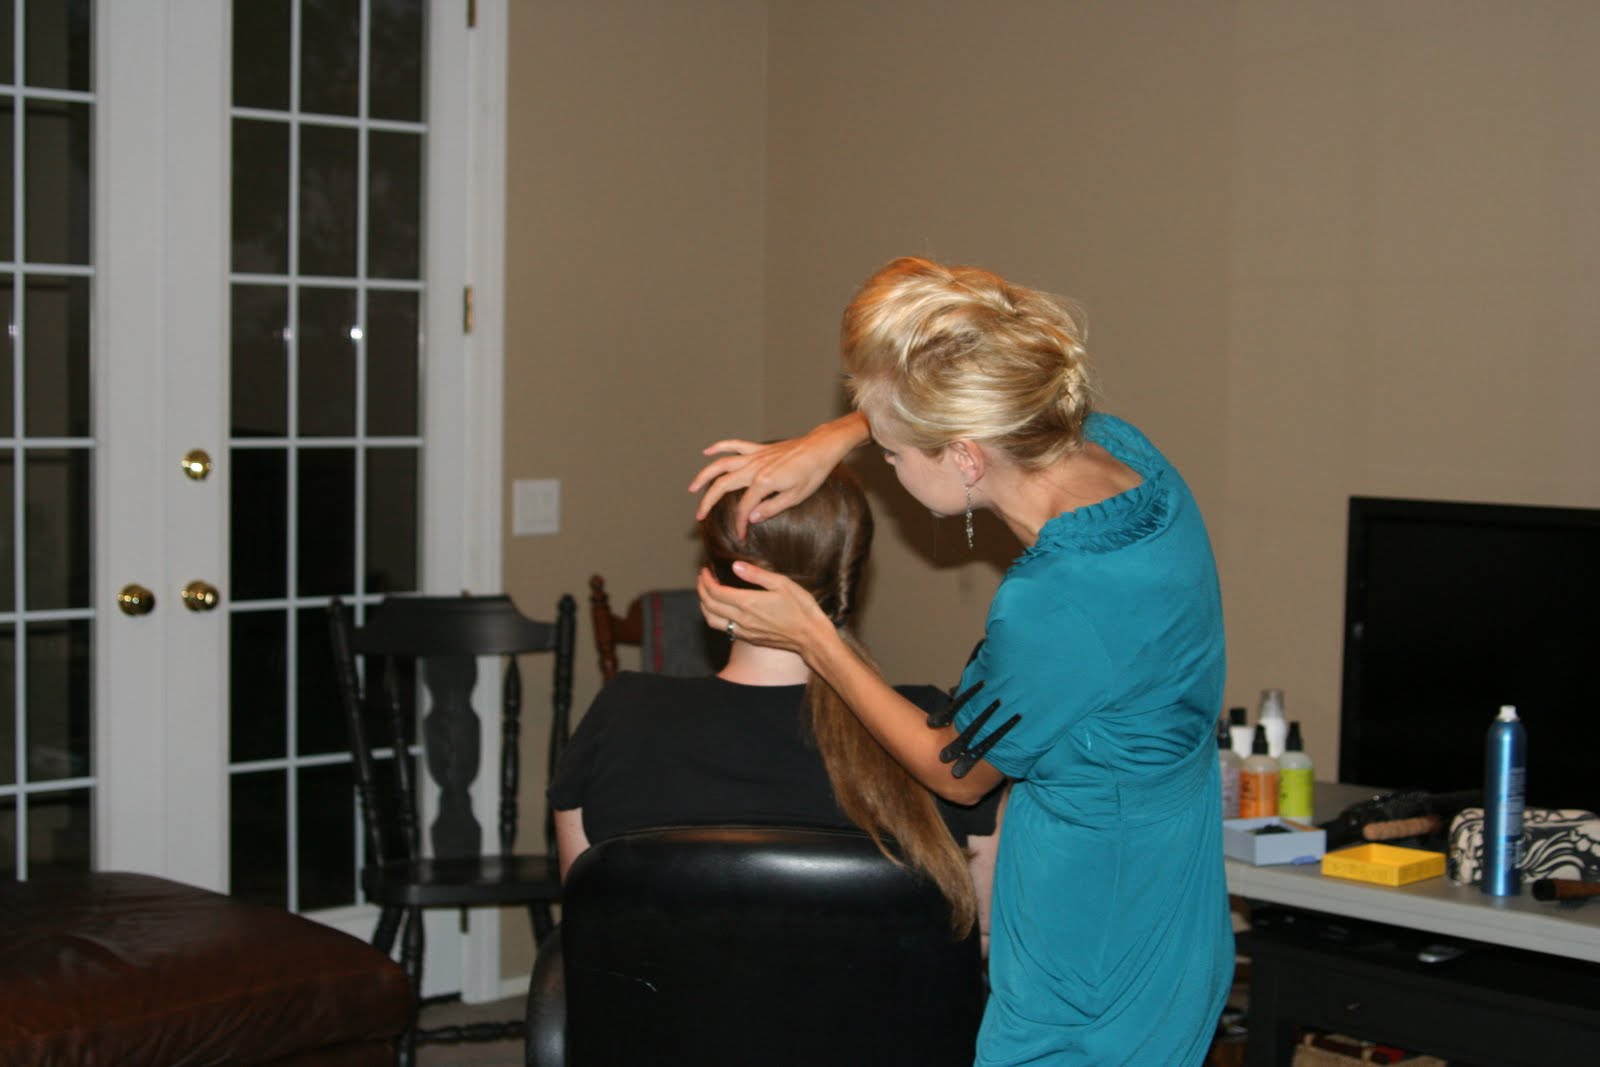


Monday, August 2, 2010
Product of the Month!!!!

I absolutely adore this product. The Aquage Finishing Hair Spray. It is amazing! It is a great holding spray for all lengths and textures of hair. It is not heavy and as a matter of fact, it leaves the hair with a brilliant shine. It is easy to brush out and leaves no residue on the hair. Try it, you will not be disappointed.
Subscribe to:
Posts (Atom)