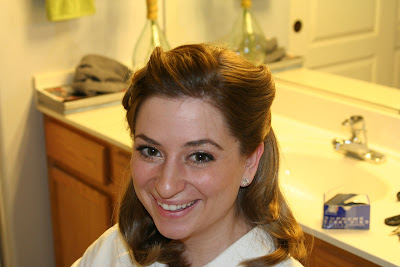
I am inspired by the gorgeous woman from the 1940's.The well embellished hairstyles- pin curls, finger waves, brushed out curl sets, the makeup and attire. I have a picture of my grandmother when she was about 18yrs old. She was absolutely stunning. I love that! Why can't we look and present ourselves that way now? That is my inspiration. Try it!
 I 1st started off by curling Whitney's hair with a 1 1/4inch curling iron. I prepped the hair before with a styling spray to help maintain the strength of the curl.
2nd- I back combed the top crown of her head to live some lift.
3rd- I sectioned her hair off of her natural part in the front.
4th- I then took two sections on the front right side of her head, just in front of the ear. I back combed again at the root.
5th- Then curl the top section carefully around the iron. Wrap the hair in a circular pattern, following the curve from the iron.
6th- place bobby pin(make sure your bobby pins match the color of your hair... No black bobby pins for you blondies:)) to hold, tuck them so they are not visible.
7th- Repeat with the next section down.
 Two pin curls
1st- Section off the hair just in front of the ear
2nd- Back comb the hair at the root.
3rd- Curl the hair with the iron away from the face
4th- release the curl from the iron and place two fingers in its place to hold the curl.
5th- lay the Curl vertically against the head
6th- Place bobby pins vertically to hold the curl in place
7th- Spray with hairspray the direction the hair is laying

Gently brush out the curls. Beautiful!
The Braid band.
2nd- Start a french braid starting at the part, follow down the side of the head
3rd- work your way around.
4th- Once you get to the other side of the head, make sure to hold tight. The braid will start to twist. Which is alright, I think it adds uniqueness.
5th- Place bobby pins along the way, to make sure the braid is well get.
6th- Once you have reached the top, twist the end of the hair in to the start of the braid. Bobby pin.
7th- Place a cute *headband to add some style.


